Chain Maille Basics: Aspect Ratio

Aspect ratio is one of the most important concepts of chain maille to understand, and can also be one of the most difficult to understand. Aspect ratio is important for selecting the right ring for the right job. Aspect ratio is the ratio of the Inner Diameter of a ring, shorthanded ID, to the Wire Diameter, WD. This ratio controls how tight or loose a particular weave will be, or if the weave can even be made, as all weaves have a minimum AR. This is because if the AR of the rings is too small, as subsequent connecting rings are added to a weave, the space necessary to complete the next connecting ring will shrink until the next ring can no longer be added and the whole weave binds up. Even though all weaves have a minimum AR, most weaves do not have a maximum AR, but, there will be a point where the weave becomes unattractive and loose, due to the excessive amount of space between connections. There is a point, or a range of points, between too small and too large where the weave will be the most aesthetically pleasing and is typically labeled ‘recommended’ or ‘preferred’ AR.

Here is a fun little diagram demonstrating some important AR concepts.

At the top it demonstrates how to measure AR. Simply find your ID, and divide it by the WD. In the first row of rings the inner diameter of the rings gets smaller from left to right, while the respective wire diameter (.10″) stays the same. Because of this, the aspect ratio gradually shrinks from left to right. This means that any weave made with these rings would get smaller and tighter as you moved from left to right. Made with the leftmost ring the weave might look too loose, but made with the rightmost ring it might be too tight to even make, while the two middle rings might fall with the ideal AR range and be perfect for the weave. Aspect ratio helps a mailler to make the most aesthetic and practical choice.

Once you have found the ring size that you like for a weave, through the use of aspect ratio you can scale the weave to be larger or smaller. How, you might ask? Because aspect ratio is a ratio, through some simple algebra you can choose a gauge of wire that you would like to make the weave from, and find the inner diameter that you need to achieve the same appearance as in the original ring size. Simply multiply the AR by the WD to find the ID needed to reproduce a ring with that AR in that gauge. In the diagram above you can see that the second row of rings all have the same aspect ratio, yet different wire and inner diameters. This means that weaves made with 19g Swg WD, 5/32″ ID rings will be a scaled, shrunk down version of the same weave made with 12g Swg WD, 2/5″ ID rings. This means that they will have all the same physical properties (except strength), such as flexibility, tightness, and appearance. In summation, any two rings with the same aspect ratio will act the same in a weave, and those close to the same aspect ratio will act close to the same. The opposite also holds true, the greater the difference in aspect ratio, the greater the difference between the same weave made with those rings. In short, choose the aspect ratio that best suits your needs.

Springback and Aspect Ratio:

One very important thing to note when dealing with aspect ratio is springback. Springback is an increase to the inner diameter from the mandrel diameter the wire was wound on that is a result of tension produced by the wire as it is coiled. Metal resists bending to the shape of the mandrel, and as a result, when the tension of coiling is removed, the coil springs away from the center of the mandrel and has a greater inner diameter than the mandrel it was coiled on. As a result of this, you cannot use the mandrel size as the Inner Diameter measurement and expect an accurate aspect ratio, especially with harder metals (except with dead soft metals in which springback is negligible). To get accurate measurements of inner diameter and wire diameter (as there is some variance in thickness in even a single gauge number i.e. 18g SWG could have .048″ or .047″ or .045″) you should use a caliper.

Digital caliper

A proper caliper should measure to the thousandth of an inch and have both “ends” like the one above, that allows for both pinching down on wire to find the wire diameter, and spreading out to determine inner diameter, as shown in the pictures below.

Measuring wire diameter.

Measuring inner diameter. This was wound on a 3/8" (.375") mandrel, notice the springback?

Now that you have these up-to-date measurements you can find an accurate aspect ratio of the rings you are using. Springback and actual inner diameter due to springback are important things to note when purchasing pre-made rings or conversing about the aspect ratio of rings.

Happy maillling!

Chain Maille Basics: Wire Gauge

Knowing the thickness of your wire is very important in chain maille, and you need to be sure you understand its importance when it comes time to buy your own wire or rings. The thickness of wire is usually measured using a wire gauge system, which assigns a given number (e.g. 14 gauge) a specific diameter (e.g. .080″), typically measured to the thousandths of an inch or in millimeters.

As if three different ways of stating the thickness of wire isn’t enough (in, mm, gauge #) there are two different wire gauge systems, the American Wire Gauge (AWG), also known as the Brown & Sharpe wire gauge, and the Standard Wire Gauge (SWG).  A general rule for both of these wire gauge systems is that the larger the gauge number, the smaller the wire diameter, and vice versa. Despite this similarity, a given gauge number in AWG does not match the same diameter as the same gauge number in SWG. Its important when communicating to others about wire thickness or purchasing wire and rings to note the gauge system that the thickness is listed in, to avoid confusion to others and to ensure that you are buying the right wire. The best way to avoid confusion is to look for, or state when communicating to another, the diameter of the wire in an actual measurement system. Either the imperial system, in thousandths of an inch (e.g. .080″), or in the metric system, in millimeters (e.g. 2.0 mm). Whichever you prefer, either one is much less confusing than one of the gauge systems. As a rule of thumb, always measure the inner diameter of the ring, or the ring size, in the same system as you measure the gauge. This is important when considering Aspect Ratio, which is the ratio of the inner diameter of the ring to the wire size.

Below is a picture of the most commonly used wire gauges, from thinnest to largest. each is labeled with the gauge number for both AWG and SWG, as well as the actual measurement in inches and millimeters. The smaller gauges, or thicker wires, are generally used for armor, while the larger gauges, or thinner wires, are generally used for jewelry. Gauges outside this range can, and have been used, but they typically lose practicality so are rarely used.

Be careful when dealing with wire thickness to be careful when purchasing, and clear when communicating with others. See my post on Aspect Ratio to understand the importance of choosing the correct wire gauge and inner diameter for a ring.

Happy mailling!

Chain Maille Basics: Metal Type

Choosing a type of metal in a piece of chain maille can be a difficult decision due to the variety of types of metal, and the strengths and weaknesses of each metal. Some metals are better for some applications, and others not so much.

Galvanized Steel:

Galvanized steel is the most popular metal used by beginning maillers and in armor grade chain maille pieces today, because it is easy to find, relatively inexpensive, and easy to work with. Galvanized steel has a zinc coating that protects the steel beneath from rusting. The wire is a bright, shiny, silver color when new, but turns a dull gray over time as it is exposed to long periods of damp or oxygen that oxidizes the zinc. This is meant to occur, as the zinc oxidizes in place of the steel, but is the main issue with this material. The time it takes to oxidize varies based on environmental conditions and is almost impossible to reverse. Also as the zinc oxidizes it will begin to have a sort of metallic smell to it that will stick to the skin. Because of these issues, galvanized steel is not suitable for jewelry and is primarily used by beginners before they expand into better metals, and by beginning maillers and experienced maillers alike for armor pieces.
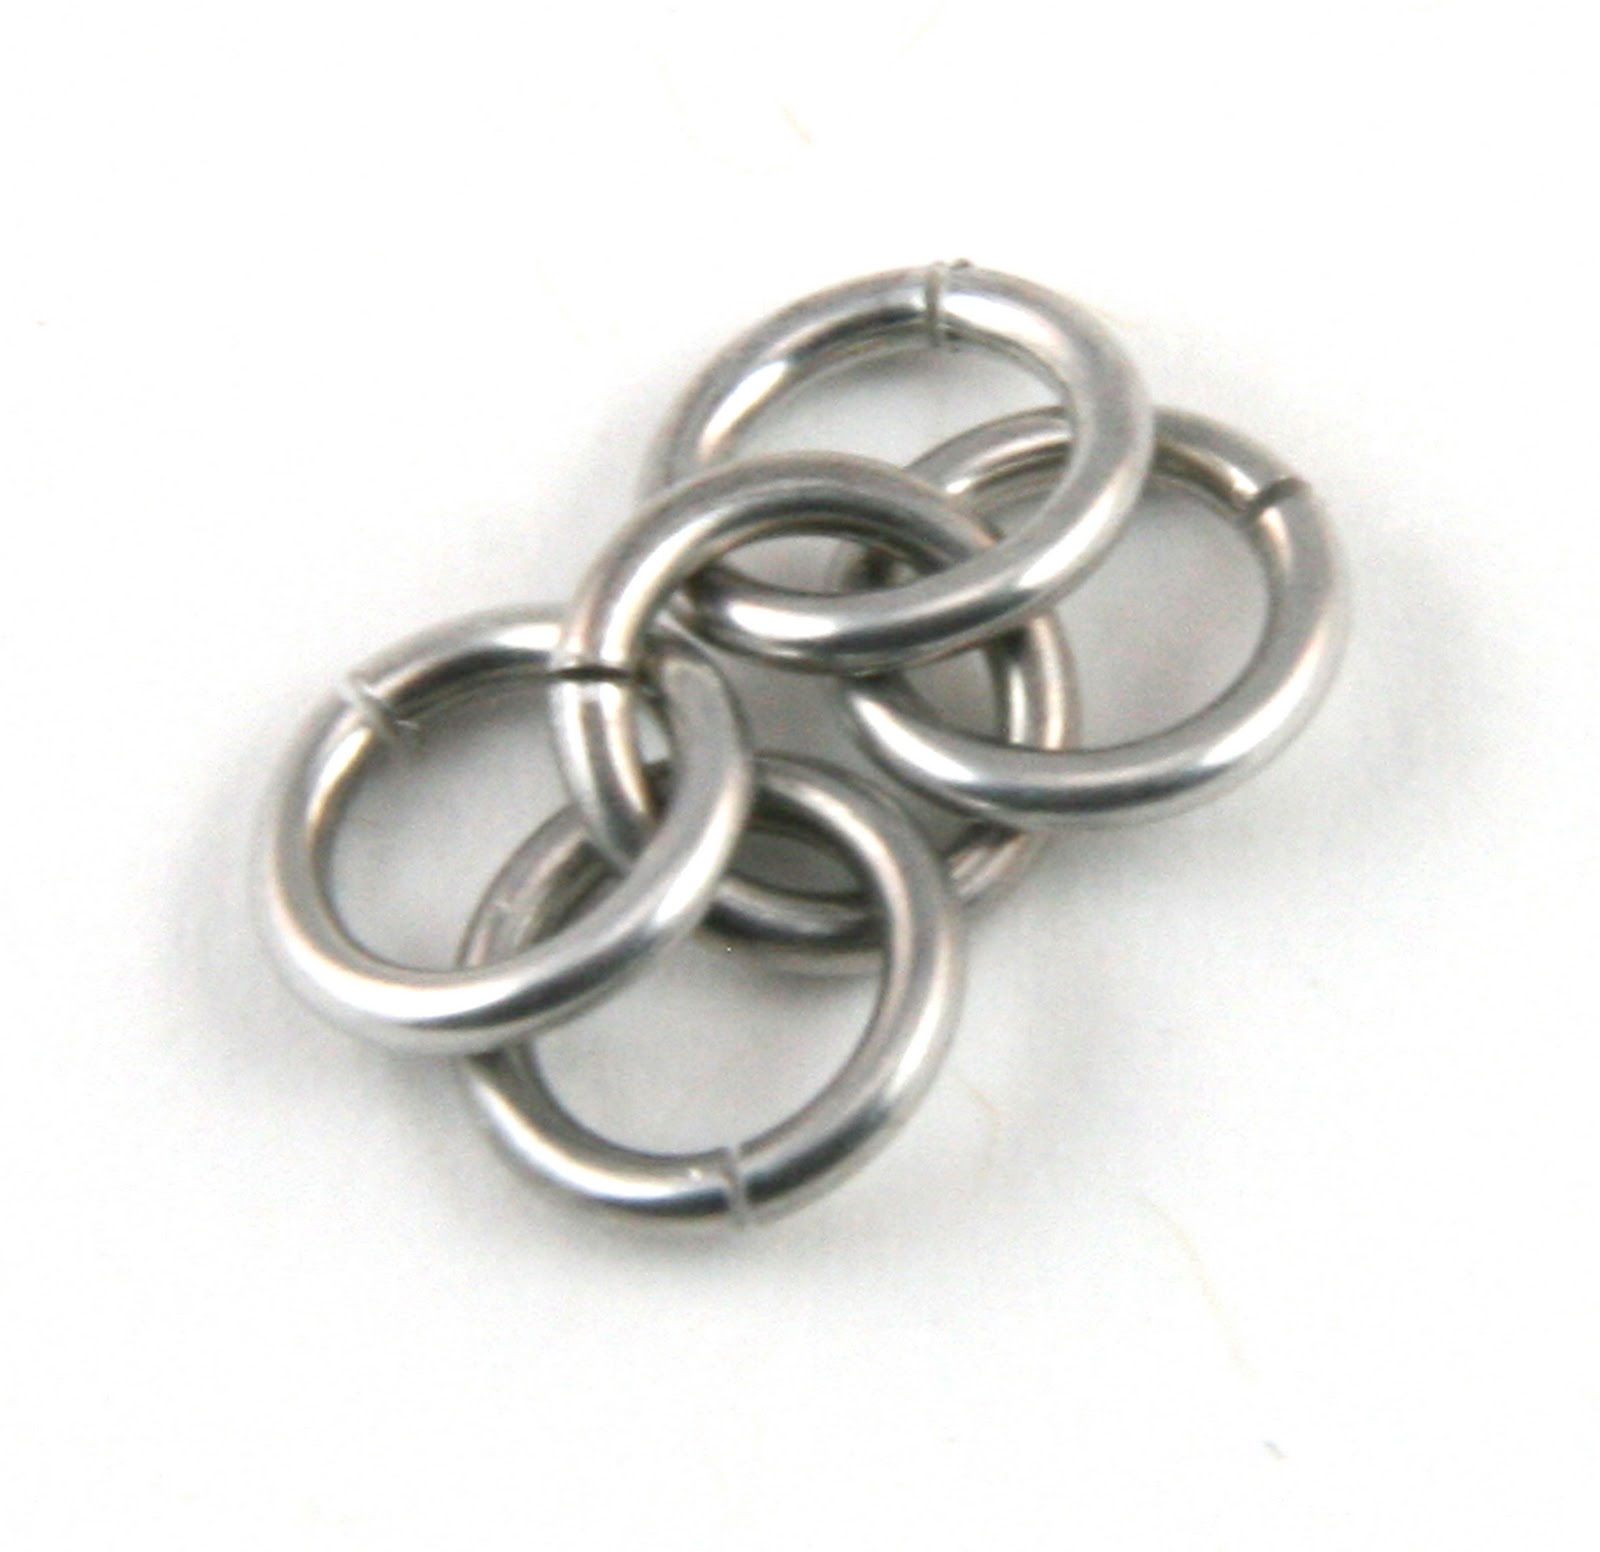
Stainless Steel:

Popular in all aspects of chain maille, from armor to jewelry, due to its high strength, corrosion resistance, and appealing color, stainless steel is the widely used big brother to galvanized steel. Stainless steel is made “stainless” by adding additional chromium to the steel. As a result, stainless steel is more expensive than most materials (several times that of galvanized steel), harder to find, and much harder to cut and work with. Stronger cutters are necessary to cut the rings, as well as better pliers to open and close the rings. Pliers with teeth are typically necessary when working with stainless steel due to its high resistance to bending. The trade-off to these inconveniences are its long-lasting properties that will yield a low maintenance, long-lasting piece of chain maille, that will only rust in the most extreme of conditions. The most common alloys used are 304, 306, 308, and 316. 316 alloy stainless steel is also known as surgical steel, and is hypoallergenic. Stainless steel can also be colored different shades of brown by heat treating it.

Mild Steel:

For those looking to create a “period” piece of armor, or in other words, armor made in the same fashion, and or, material as the type of armor they are trying to reproduce from a certain historical period, mild steel is the material to use. Mild steel is plain steel with no additives, coatings, or plating added to the steel wire. It can be more durable than galvanized steel, is a light grey color, and is highly susceptible to rust. Mild steel is a high-maintenance material that requires special care.

Inconel:

Inconel is a high-end, super corrosion resistant material that tops even surgical stainless steel. It’s an alloy consisting mainly of nickel and chromium and acts and looks close to stainless steel. Expensive.

Titanium:

Titanium is an expensive material with amazing properties. It is half the weight of steel, strong, and very corrosion resistant. In addition, titanium can be anodized to produce a variety of colors! Titanium can be anodized in two different ways as well. Heat anodizing can produce a variety of different colors by applying a flame to the titanium. Colors vary based on temperature, and length of time exposed to that temperature of heat. Electric anodizing can also produce a variety of different colors by applying a different voltages to the titanium in a certain setup. The color varies based on the voltage. It is important to not that the anodized layer is a colored oxide of the titanium, but has no negative properties.

Niobium:

Niobium is a strong, corrosion resistant and hypoallergenic metal. It weighs slightly more than steel and has a dark, silvery grey color. Like titanium, niobium can be anodized to produce a variety of colors, but in niobium’s case, more vibrant and metallic in appearance. Niobium is anodized electrically in the same fashion as titanium, but isn’t often heat anodized (I’ve only heard of black being produced this way). Because anodized niobium has such beautifully vibrant colors, it is a very popular material to use with silver to add unique color to a piece. The anodized layer is not permanent and can be worn away.

Aluminum:

The primary feature of aluminum, and one of the reasons it’s one of my favorite materials, is that it is very light weight. Aluminum is a bout a third the weight of steel which makes it great for making larger jewelry that weighs much less than if it was made from other metals, and is great for making much lighter chain maille armor. The trade-off to aluminum is that it is not very strong and will oxidize, leaving a black residue on the metal and whatever it touches. Aluminum oxidation is not a bad thing for aluminum, like one would think, though. Instead the oxidized layer is close to transparent and forms a non-reactive layer over the aluminum that prevents further oxidation of the aluminum. Oxidation speed, color, and other properties of aluminum varies based on the alloy. A typical 5000 series aluminum (aluminum-magnesium alloy) is a grey color and rather dirty. Etched aluminum is aluminum that has undergone a process that chemically cleans the aluminum, but leaves it a dull grey or white color. Bright aluminum, my preferred aluminum alloy, a common alloy of which is 5356, is aluminum that is typically used for welding applications. It has been drawn into wire with a very smooth surface and chemically cleaned. This makes it much more shiny and will oxidize much less and much slower, if at all. Another cool property of aluminum is that it can be anodized.

Anodized Aluminum:

Anodized aluminum is aluminum that has been colored by creating a porous surface that is then dyed and sealed, producing a clean, colorful surface. This layer is harder than normal aluminum, as corrosion resistant as stainless steel, and the variety of colors is nearly endless, as it is based on a dye. But you are limited to the wire or rings you can find available in certain dyed colors.

Bronze:

Bronze is a dark copper-colored alloy of copper and tin, that is slightly more corrosion resistant than brass. It will turn a darker, duller color over time, and even green if it gets damp. It is relatively strong and close to the same weight as steel.

Copper:

Copper rings, partially oxidized.

Copper is a beautiful, red-toned metal that starts off. When new, it looks like a bright new penny, but won’t stay that way long. It corrodes easily and over time copper will darken or turn a green color as it oxidizes. Copper is softer than most metals and is easily marred by pliers. It can look beautiful as jewelry pieces, but with the downside that it can leave a green residue on your skin as the copper reacts with sweat and acids on the skin. Copper can be cleaned a variety of ways including lemon juice outside of commercially available cleaners and is an interesting material to use. Copper plated wire consists of a layer of copper plated onto mild steel, typically used in welding applications. The coating is slightly darker and can wear off over time. Copper can also be enameled to produce wire with a variety of colors.

Enameled copper, also known as artistic wire, is soft copper coated in a layer of flexible, durable, enamel. The enamel coating can come in a huge variety of shiny, beautiful, colors and provides for a great selection of colors. Silvered enameled copper is copper that has been plated with silver before being enameled, which produces, lighter, brighter colors. Overall enameled copper is a weak material typically found only in smaller gauges, and is only good for jewelry.

Brass:

Jewelers Brass

Brass is an alloy of copper and zinc. two common types of brass are yellow brass and jewelers brass. Yellow brass is more yellow in color, while jewelers brass is a more gold color. Brass will oxidize and can turn a dark yellow color, and can range from a weak, soft wire, to a harder, stronger wire that depends on the temper.

Nickel Silver:

Nickel silver, also known as German Silver is not to be mistaken as silver, and actually has no silver content. It is an alloy of copper, nickel, and zinc with fairly high corrosion resistance. It has a color similar to stainless and will darken with time. This is a bad metal if you are worried about allergic reactions, as it causes more allergic reactions than most other types of metal due to the nickel.

Silver:

Sterling Silver, likely a bit tarnished.

Silver is a beautiful material for high-end pieces of chain maille jewelry. There are different grades of silver based on % content with their own properties. Fine silver is 99.9% silver. It has higher corrosion resistance than sterling and fuses cleaner. Sterling silver is 92.5% silver, with the other 7.5% being copper. It will tarnish over time, but can be restored with a chemical silver polish. Argentium Sterling Silver replaces the copper in the alloy with germanium that makes it very white, highly tarnish resistant, fuse easily, and eliminates fire scale, among other properties. Silver is a softer metal and the rings can be soldered closed if that is an issue for the application.

Gold:

Most people are familiar with gold, but I’m going to talk about gold-filled wire, which is more affordable. Gold filled wire is typically 5% by weight of the wire and is a tube of 14 karat gold filled with brass. It is much better than gold-plated wire as it will almost never wear out, whereas gold-plated wire typically will.

Closing:

Hopefully all this information will help you in choosing the metal that best suits your needs. For beginners I suggest starting with galvanized steel, as it is easily found at a variety of places. I have even seen it in Wal-Mart (although a low temper) for hanging up clothing. Thank you for reading, and I hope you will look at more of my Chain Maille Basics posts that I have made and stay posted for new ones as I make them!

Some information used from theringlord.com, a wholesale chain maille supplier, as well as chainmailbasket.com, a great chain maille site from which I have modeled some of these Chain Maille Basics posts after.

Browse through more Chain Maille Basics posts or visit M.A.I.L. to learn more about this ancient, and addictive art.

Happy mailling!

© Metal and Mineral

Chain Maille Basics: Weaves and Classification

Classifying different chain maille weaves (often called patterns) into different categories can be a difficult task, as opinions on how they should be classified vary among different maillers. I learned chain maille primarily from Maille Artisans International League (M.A.I.L.), and as such generally follow their way of classifying maille, although more along their older style than their newer style. A weave, specifically, as defined by M.A.I.L. is:

A unique and indefinitely repeatable pattern of rings, characterized by the connections between rings, and containing only rings that serve to maintain the physical structure thereof or to connect an instance of the pattern to an adjacent instance.

Within the chain maille community (primarily M.A.I.L.), there is disagreement as to if this is truly the correct definition of a weave, and what really constitutes a weave. To save myself, and the reader any confusion, it doesn’t particularly matter if something is in all technicality a weave. If it produces something aesthetically pleasing using unique ring connections, that could possibly used for a practical application such as armor, sculpture, or jewelry, it doesn’t really matter if it is a weave in the technical sense.

Maille Artisans currently classifies a weave based on its Family, Structure, Form, and Attribute. The family that a particular weave is categorized into is generally based off of the types of connections between the rings and how the rings act as a whole. The type of structure that a weave is categorized into is based on the general way that the rings interact to form a general structure, such as a sandwiching structure or an inversion of a weave, this does not refer to the stability of a weave to stay in one state. The form of a weave defines how a weave naturally expands, the terms sheet, chain, unit, and three-dimensional or dimensional are used to describe form. All weaves have one or more attributes. Weave attributes vary from having doubled rings, referred to as “Kinged” on M.A.I.L., to how the rings are angled, to possibly having additional rings not necessary to the stability of the standard weave added to the edges for decorative effect. I will now cover my take on weave families, as well as weave form.

Weave Family:

I currently view weaves as encompassing six different families; European, Japanese, Persian, Spiral, Orbital/Captive, and Hybrid. The family that a weave will fall into is generally based off of their connection style and ring interaction, although in some cases a weave may fall into more than one family. These are labeled as being part of the Hybrid family.

European:

European 4 in 1

European weaves tend to have a “grain” due to the rings alternating direction every other row. The name comes from the region in which these weaves (specifically the weave shown) were used as armor.

Japanese:

Japanese 12 in 2 (or Japanese 6 in 1 with doubled rings)

Japanese weaves are very geometric and have 90 degree ring connections. The name comes from the region in which these weaves (specifically the weave shown) were used as armor.

Persian:

Half Persian 4 in 1

The rings in Persian weaves are oriented so that if a cross-section was taken they form an X, with the rings staggering in position. The name Persian does not denote origin in this case.

Spiral:

Spiral

The rings in the spiral family have a helical form, or spiral form.

Orbital/Captive:

Captive Inverted Round

Orbital/captive weaves contain captive and or orbital rings. Captive rings are rings that are trapped in place by other rings, but do not pass through those other rings. Orbital rings are rings that are held in place by other rings due to the connection between those rings.

Hybrid:

Elfsheet

For those poor lost weaves that don’t belong primarily to one family, but to multiple families.

Weave Form:

All weaves have a form, and only one form. There are four different types of weave form. The four weave forms are Unit (a weave that creates a single unit that cannot be expanded in any direction without linking multiple units together), Chain (a weave that expands linearly, or on one plane, indefinitely), Sheet (a weave that expands in length and width, or on two planes, indefinitely), and Three-Dimensional (a weave that expands in length, width, and height indefinitely). This is the most comprehensive way to identifying and classifying weaves, but doesn’t help much when searching for a specific weave, as the majority of all weaves fall in Chain.

I hope that this information will help you in understanding the differences and similarities between different chain maille weaves, even if you disagree with my method of categorizing weaves. For more information on weaves and their classifications please visit M.A.I.L.. Another good site for weaves and their classifications is http://www.chainmailbasket.com.

Chain Maille Basics

Small European 4 in 1 Sheet Sample. The most commonly recognized chain maille weave.

Chain maille is an art of armor making that is thousands of years old, and is created by interlocking individual metal rings into one of many different “weaves”, or patterns. No one knows, or can agree on, exactly how old chain maille really is. Originating in Europe, it migrated as far east as Japan. Used as armor, and commonly recognized as such, maille retains some practical use today. Its often used to create intricate and beautiful jewelry in a variety of different metals, as well as shark suits, butcher’s gloves and lumberjack leggings, where maille’s original protective properties are still used. Maille continues to be used as armor in certain groups, and more commonly as decorative costume in role-playing and reenactment groups.

The metal used in a piece varies based on the purpose, and even then can vary, but in general, armor pieces tend to be made from a steel, costume pieces from aluminum, and jewelry from a variety of materials ranging from stainless steel to gold.

From wire, to coils, to rings.

In a modern world, the tools, methods, and materials are far superior to those in ancient times. Rings begin their life as wire, in one of many different gauges, or thicknesses. Using a steel mandrel, that wire is spun into a  tight coil around the mandrel and then slipped off and cut into individual rings. The cutters today vary from simple bolt cutters to elaborate mechanical setups using a jeweler’s saw that produce precision cut rings. However they are cut, these rings are the basis of all chain maille.

Half Persian 4 in 1, a distinct and beautiful chain maille weave.

Just as important as the rings, is how the rings are joined together. The way the rings are joined together gives definition to a piece of maille and is what sets it apart, or makes it similar or identical to other pieces. Typically this distinct pattern of the way the rings are interlocked is referred to as a weave. There are numerous different weaves, with more being invented every month, each with its own distinct properties, as well as similar properties to other weaves, which allows them to be categorized into “families” (to a degree).

Browse through more Chain Maille Basics posts or visit M.A.I.L. to learn more about this ancient, and addictive art.

© Metal and Mineral

Helm Chain Tutorial

A finished bracelet made from the Helm Chain weave, identical to the bracelet version taught in my classes. Finished with a hook clasp attached using the smaller rings.

These are the instructions given out for the chain maille classes I teach. I strive to provide the most comprehensive instructions that aren’t unnecessarily long. If you have a particular weave you would like me to provide, send me a message and I will do my best to create one. Otherwise, expect about 1 to 4 new weaves a month for the foreseeable future as a byproduct of my classes.

Helm Chain, also known as Parallel Chain, is an appealing, simple weave. Helm chain creates “orbitals”, or rings not linked to any other rings that are trapped inside the weave due to a sandwiching affect. These instructions are geared toward a beginner. The rings used in these instructions are 19 gauge (.04″), 5/32″ ID (Inner Diameter), and 18 gauge (.048″), 1/4″ ID bright aluminum rings, so the AR’s used are approximately 4.1 and 5.5 after springback. This is a beginning level weave with an ideal AR of the two rings of 4.0 and 6.0. To visit my etsy shop, click here: metalandmineral.etsy.com. Enjoy!

Step 1:

Close four large rings and open two small rings. Loop the two small rings through the four large rings one at a time and close them. Be sure that you don’t loop them through each other. Lay the rings as shown. (if you have difficulty getting four large rings onto two small rings, reverse it, and close the two small rings and loop the four large rings through them).

Step 2:

Open a large ring. This will be an “orbital” ring, so it will not pass through any of the other rings. Instead, loop it around the small rings laying between the large rings and close it. To do this, the ring will need to be opened relatively wide in comparison to typical ring openings.

Step 3:

With the large ring now “orbiting” the smaller rings, take the doubled rings to each side and flip one in each set, to each side; one to the right, and one to the left, so that they are positioned as shown in the lower picture. This can be a hard step to understand so here it is in other words: There is a set of two rings to each side. If you look, on each side there is one on top of the set, and one on the bottom. You are going to be taking those rings on top and pull their ends towards each other so that they almost meet, sandwiching the orbiting ring between them. You will do the same with the bottom rings, essentially splitting the pairs down the middle.

Step 4:

Open two small rings and link them onto the two right large rings as shown.

Step 5:

Open one large ring and loop it around the two small rings you added, and between the two large rings they’re joined to, and close it. It will not pass through any other rings. This ring will need to be opened a bit wider than usual to slip it through.

Step 6:

Open two large rings and loop them through the two small rings as shown, one above the large ring, and one below.

To extend the chain, simply repeat steps 4 through 6.

Finished piece of helm chain, 4 units long.

You have now learned Helm Chain!

 © Metal and Mineral

Celtic Visions Tutorial

A finished bracelet made from the Celtic Visions weave, identical to the class taught version. Finished with a toggle clasp attached using 18g,1/8 ID rings.

These are the instructions given out for the chain maille classes I teach. I strive to provide the most comprehensive instructions that aren’t unnecessarily long.

Celtic Visions forms a great chain for bracelets and necklace, and modifications to the weave, such as joining the ends together and adding certain rings, can create different things from stars, referred to as Celtic Stars, to complicated sheets of maille. Celtic Visions looks a lot like Celtic Knot work, hence the name! These instructions are geared toward a beginner. The rings used in these instructions are 18 gauge (.048″), 3/16″ ID (Inner Diameter), and 16 gauge (.062″), 5/16″ ID bright aluminum rings, so the AR’s used are approximately 4.1 and 5.2 after springback. To visit my etsy shop, click here: metalandmineral.etsy.com. Enjoy!

Step 1:

To start the weave, close two small rings and slip them onto an open large ring, and close it.

Step 2:

Close three small rings and slip them onto an open large ring. Slip that large ring onto one of the small rings from the previous step, and then close it.

Step 3:

Lay the pattern as shown, with the two bottom-most rings bottoms facing each other. Another way to look at it is that the rings are bowing out, away from each other. Open two large rings and slip one through the two bowed rings at the bottom, going up through one, and down through the other. Repeat with the second ring.

When done, it should look like this.

Step 4:

Be sure the weave is laying as shown in the previous picture. Take the top large ring of the two that were just added, and flip it over so that it is laying on top, as shown below. The small ring will appear as if it is “trapped” inside the larger ring.

Now flip the other large ring under, so that it looks as shown below.

Step 5:

Open two small rings. Arrange the weave as shown below or the previous step*.  Take the two open rings and link them through three of the large rings that are stacked together in a “sandwich”, one to each side. You are duplicating the pattern that you see at the top of the weave, in order to form a diamond, or “H” shape.

If done correctly it should look like this.

Step 6:

Now that you have completed one unit, expanding is pretty simple. Simply repeat Steps 2 through 5 as detailed. Below is a set of pictures displaying those steps carried out.

Step 2 repeated.

Step 2 repeated (continued).

Step 3 repeated.

Step 4 repeated.

Step 5 repeated. Now two units long. Pair of small rings left are for continued expansion of the chain.

To end the chain, simply close only 1 small ring and then join the large ring. This will make it so there is not a pair of rings left like shown above.

* The rotation pictured is not necessary, do not be thrown off by it

© Metal and Mineral

European 4 in 1 Tutorial

These instructions are almost identical to those used in the chain maille classes I teach, so enjoy! These instructions work for anything from a bracelet to a chain maille hauberk (shirt).

European 4 in 1 is the most commonly known and recognized of the chain maille weaves. In these instructions I will show you how to make this popular weave! The rings used in these instructions are 18g (.048″), 3/16″ Inner Diameter, with an Aspect Ratio of 4.1. To visit my etsy shop, go here: metalandmineral.etsy.com . Enjoy!

Step 1: To start this weave, close 4 rings and slip them onto an open ring. Close the ring and arrange the rings as shown.

Step 2: Close two rings and slip them onto an open ring. Pass that ring through the bottom left ring, coming up from underneath, and then down through the bottom right ring and close it. It may be easier if you wait to slip the two closed rings onto the open ring until you’ve slipped it through the two bottom rings.

Step 3: Arrange the rings as shown and repeat step 3 until you reach the desired length. If you do not repeat this step properly you will expand the weave in the wrong direction or create a convoluted mess. Be sure to come UP through the bottom left ring, and DOWN through the bottom right ring when they’re positioned as shown above. Once you have successfully repeated this step, you shouldn’t need to worry about the weave falling apart, as it will become “stable”.

Step 4: To expand the chain in width (can also be considered length depending on how you view it), close two rings and slip them onto an open ring. Pass that ring through the bottom two rings on the left, either by coming DOWN through both rings from above, or UP through both rings from below, and close it. Once again, it may be easier to wait to slip the closed rings onto the open ring until after you have slipped it through the bottom two rings already attached to the weave.

Arrange the rings as shown below.

Step 5: Close ring and slip it onto an open ring. Pass that ring UP through the bottom right ring from below of the previous step and DOWN through the next two rings as shown. Closed ring can be slipped on later as in previously noted steps.

Repeat step until desired length.

You’ve learned how to make European 4 in 1!

*To expand farther in width, repeat steps 4 and 5.